Servo Manual Control Without Arduino Servo Library on Raspberry Pi and Gertboard
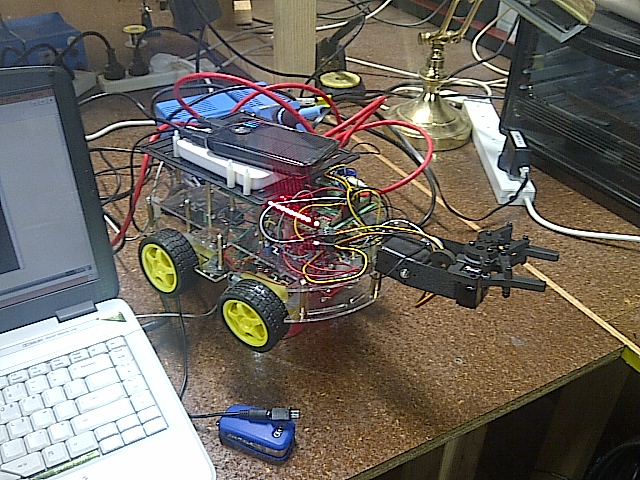
Arduino Servo library Servo.h despite its simplicity often creates timer conflicts with other PWM pins. In our lab experiment, we found that when we attach servo on Pin 11, PWM capability on at least one of the other pins gets disabled, e.g. the right wheel of the rover attached to Pin 3…

Arduino vs Gertboard Pin assignment dictionary
Arduino Gertboard Function A0 PC0 Analog A1 PC1 Analog A2 PC2 Analog A3 PC3 Analog A4 PC4 Analog A5 PC5 Analog 0 PD0 RxD 1 PD1 TxD 2 PD2 3 PD3 PWM 4 PD4 5 PD5 PWM 6 PD6 PWM 7 PD7 8 PB0 9…
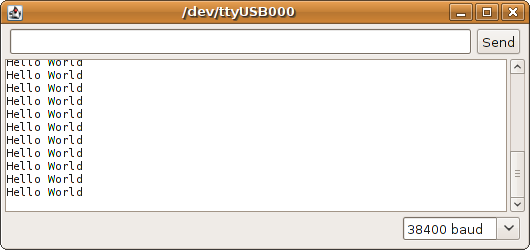
“Hello World” Running Arduino IDE Serial Monitor on Gertboard
So you have tried the following code and include Serial.println(“Hello World!”); in your sketch yet nothing happens? To see printed messages on the Arduino IDE Serial Monitor, you need to link up the broken-out Raspberry pins as follows: Raspberry Mini UART TXD (GPIO pin 14) -> Gertboard MCRX (1 jumper) Raspberry Mini UART RXD (GPIO pin 15) ->…
Install and Test Arduino IDE with Raspberry Pi and Gertboard
0. Make sure ATMega wires are propertly setup. 1. Install Arduino IDE sudo apt-get install arduino 2. Instal AVRdude, a small tool to transfer sketches over to the board. cd /tmp wget http://project-downloads.drogon.net/gertboard/avrdude_5.10-4_armhf.deb sudo dpkg -i avrdude_5.10-4_armhf.deb sudo chmod 4755 /usr/bin/avrdude 3. Automate some process of avoiding potential serial port conflicts
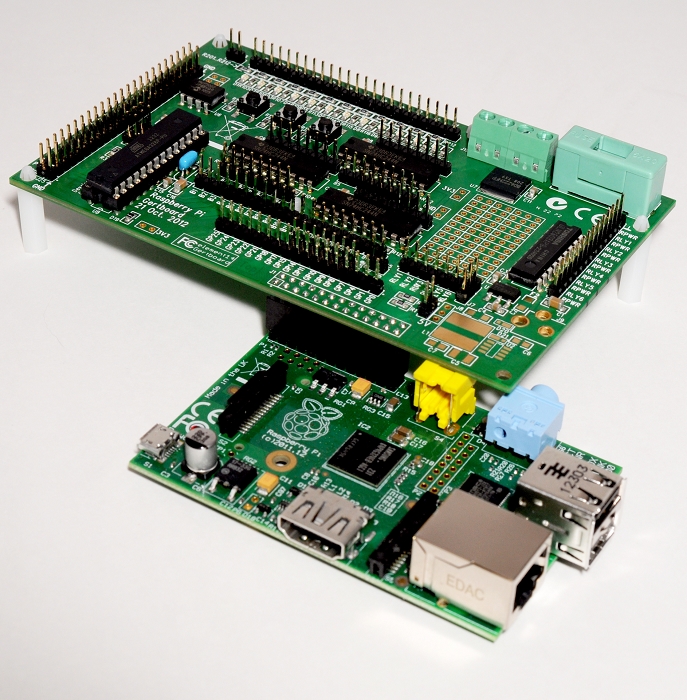
Using Gertboard ATmega as Arduino board
Gertboard is a great IO extension that has the capability of mimicing behaviour of an Arduino board through its ATMega channels. To set it up, you need to: 1. Connect the Gertboard wires as follows: GPIO pin 8 with ISP pin 5 (RESET) GPIO pin 9 with ISP pin 1 (MISO) GPIO…
")

