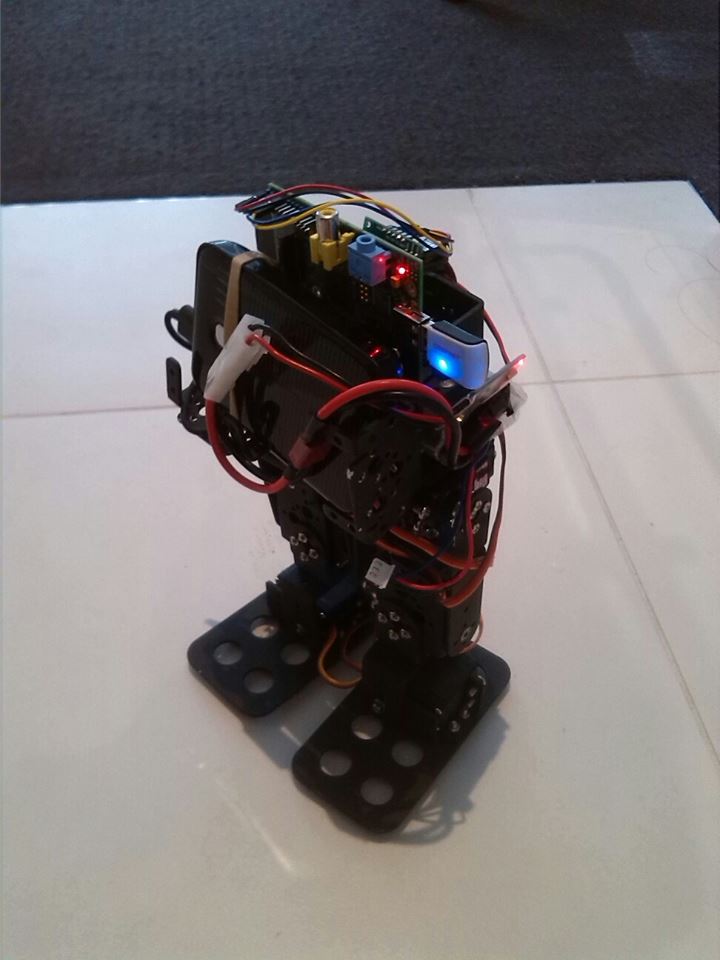
Legged Pi: A walking biped Raspberry Pi robot
Ingredients: Pi Bundle: Raspberry Pi Model A USB Wifi dongle 8GB SD Card running Raspbian Servos: Pololu Maestro 6 channel servo controller 6 mid-size servos Power: 7.2V 1300mAh 2S Lipo battery for the servos 5V 1A NiCD power bank for the Pi UBEC voltage down converter Battery wires & connectors…
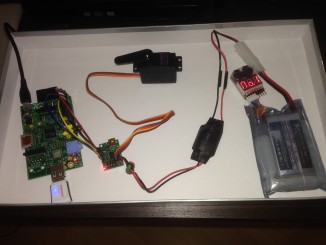
Raspberry Pi + Pololu Maestro + Python3 + Tornado + Servo Control Part 1
This tutorial will show you how to have the basic servo control using Raspberry Pi and Pololu Maestro. The implementation of the following instruction can be used for hand gripper, robot leg, or pan/tilt camera. Hardware list: Raspberry Pi Model A 256MB Pololu Maestro USB 6-Channel Servo Controller MG946R Towardpro…
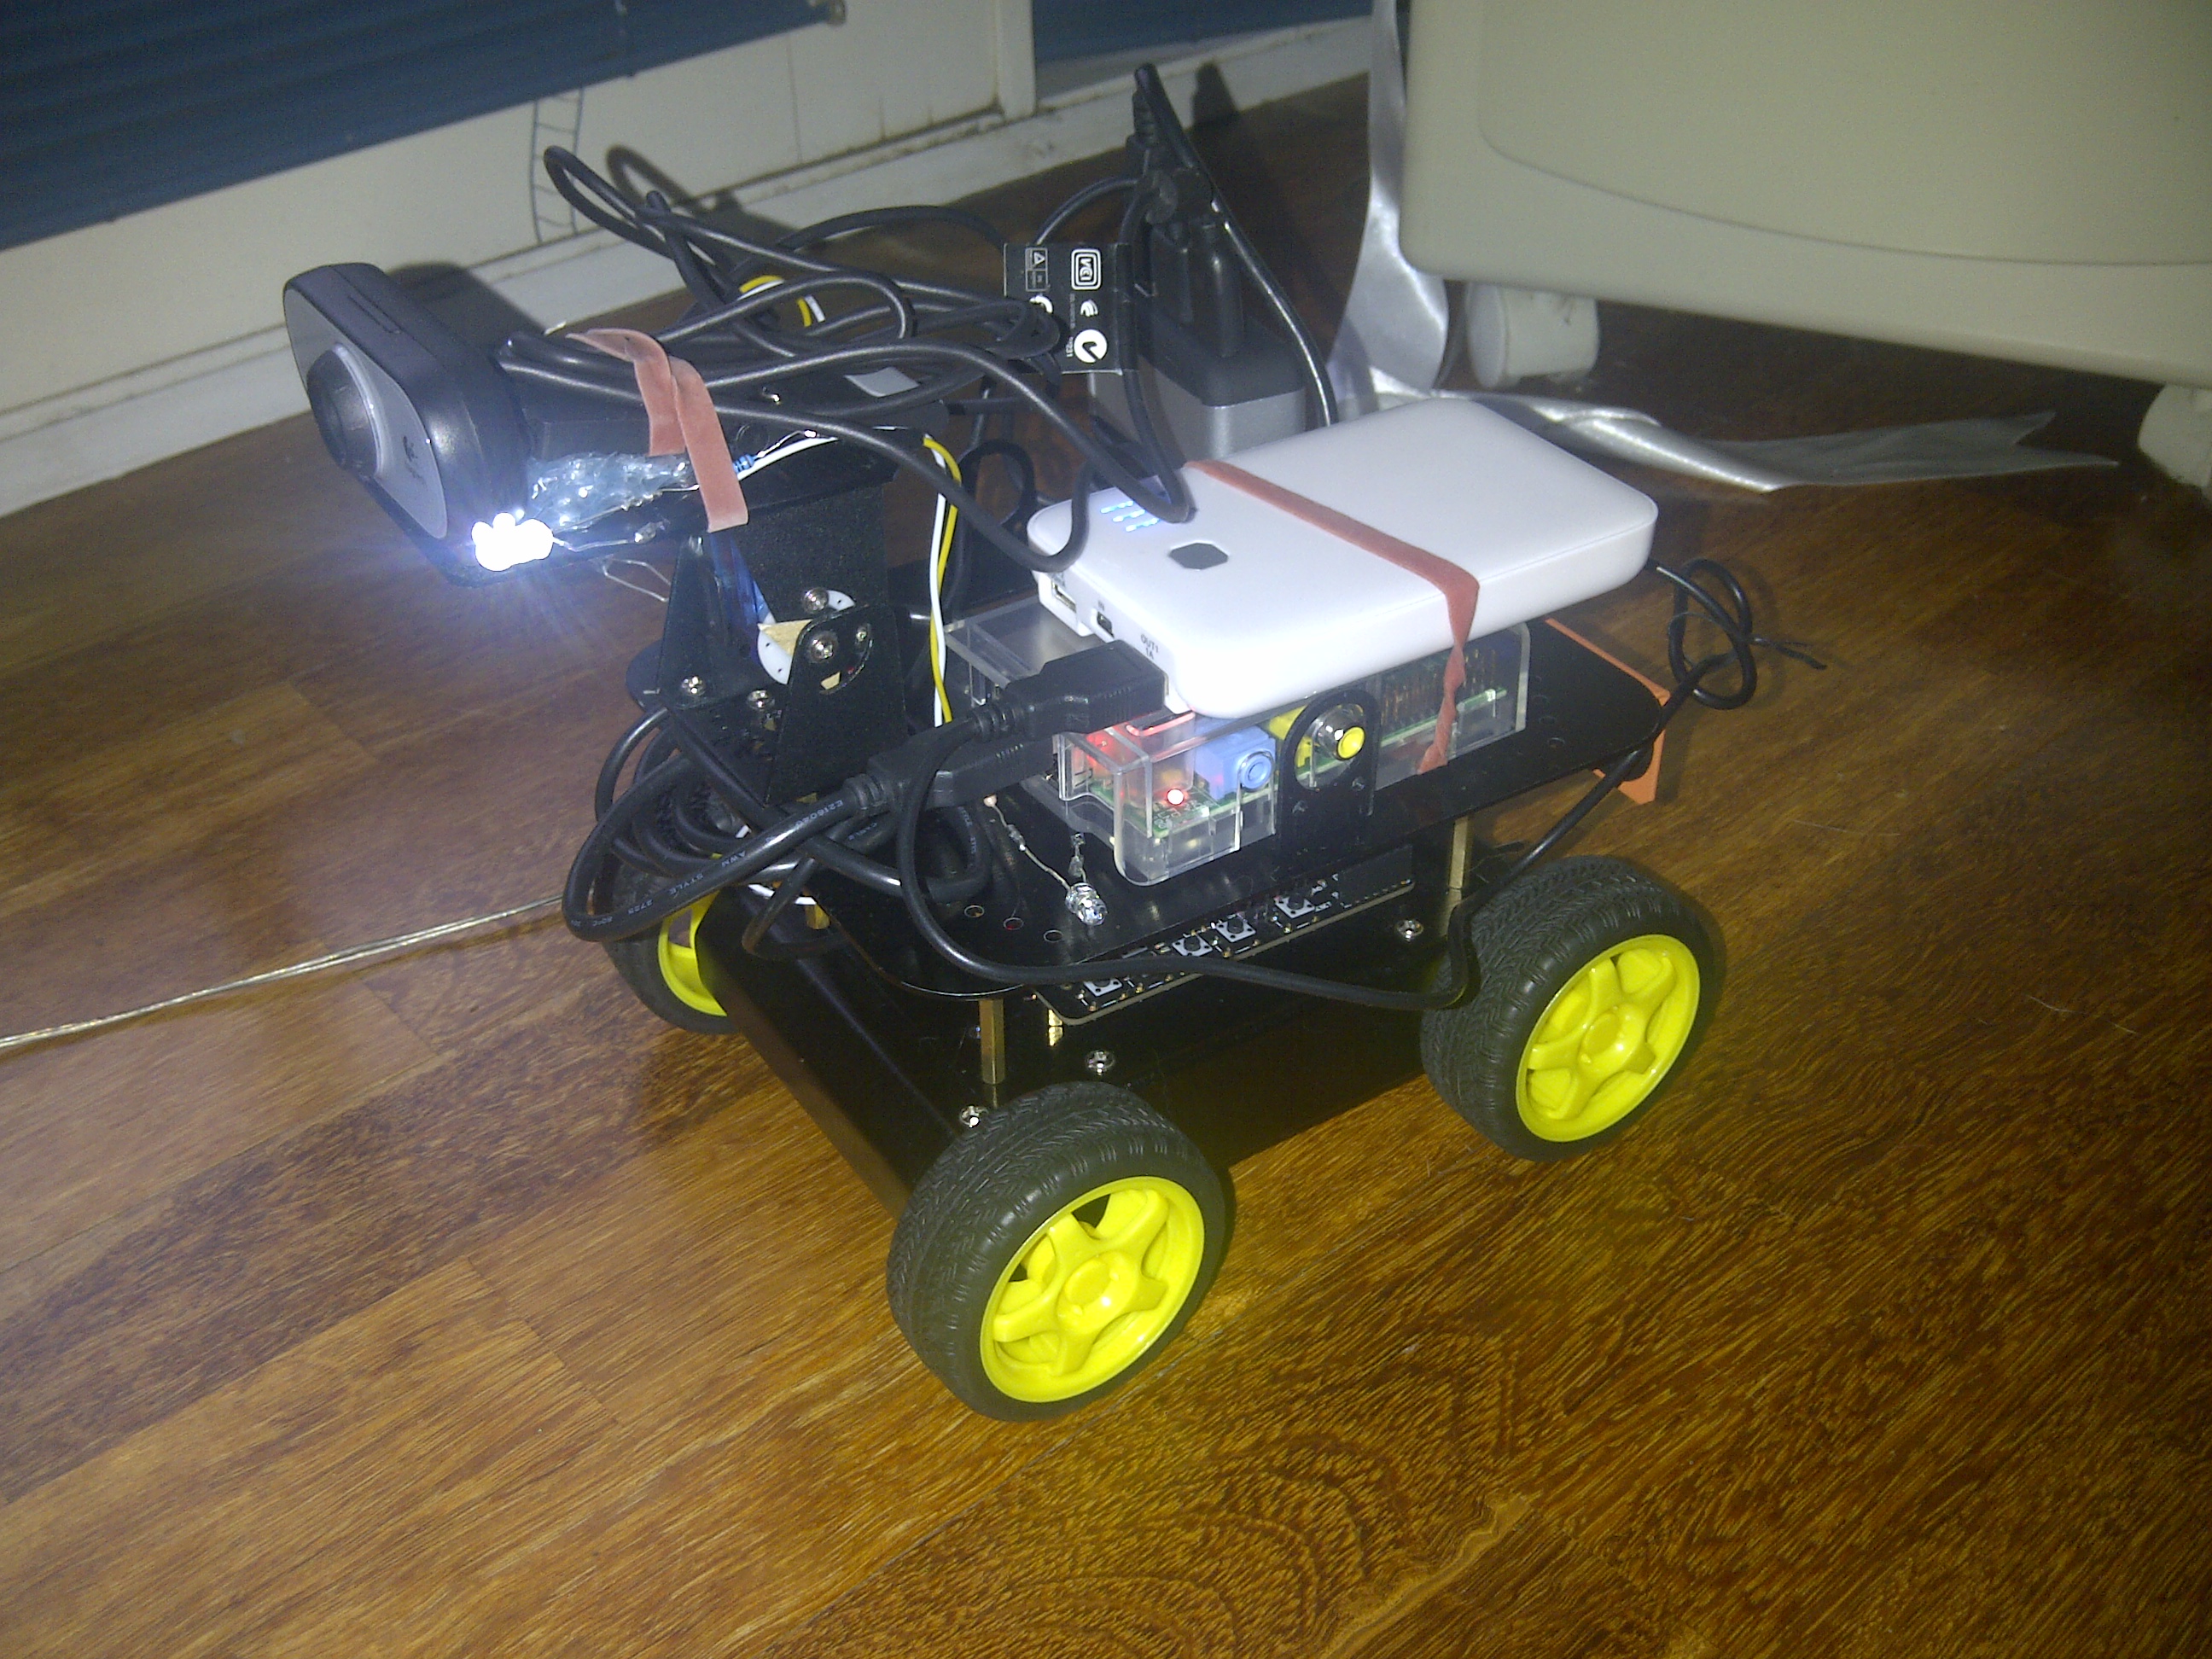
Robot Project Day 7 – Testing Your Robot
Previous: Day 6 – Arduino Sketch for Robot Control To recap our connections will roughly look like this: Your client PC -> Your Raspbery Pi (which contains Arduino Sketch) -> Motor Controller via USB cable -> 4 Servo Motors First, you need to know if you get a response from…
Robot Project Day 6 – Arduino Sketches for Robot Control
Previous: Day 5 – Power Supplies If you are familiar with Arduino IDE sketch, you could program simple commands to control the motors first. The most important thing to remember is that each motor controller is different, and each one would have a dedicated ports for you to connect up the…
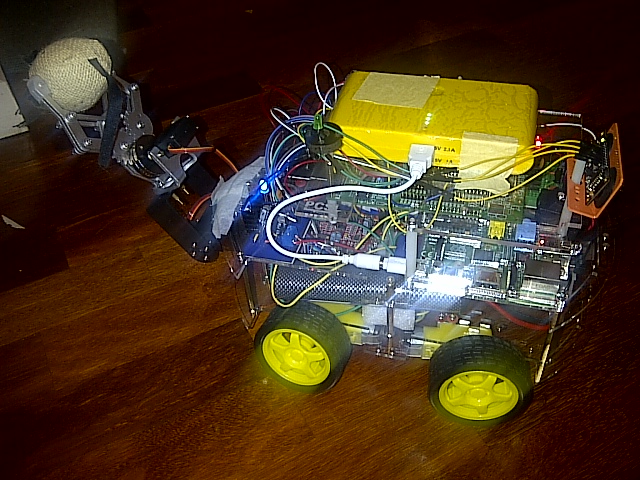
Robot Project Day 5 – Power supplies
Previous: Day 4 – Motor Controller These are the requirements for the robot’s power supplies: 1. Motors will need at least 1.5V power per motor and the amperage would depend on the power of each motor. We used a remote 7.2V remote control car batterry which is converted to 5v, so it…
")

