Robot Project Day 10 – Control Interfaces
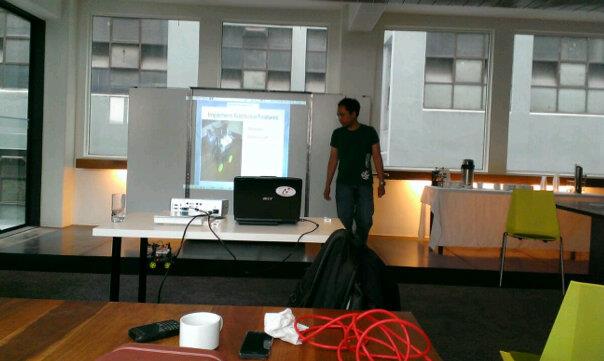
Previous: Day 9 – Advance: Hand Gripper Everybody is on the net, and that can include your robot. One easiest method to control your robot is via a client computer’s web browser. Because Raspbian can run web servers like Apache, Node, or Tornado, you can serve a web page and create communication…
Robot Project Day 9 – Advance: Hand Gripper
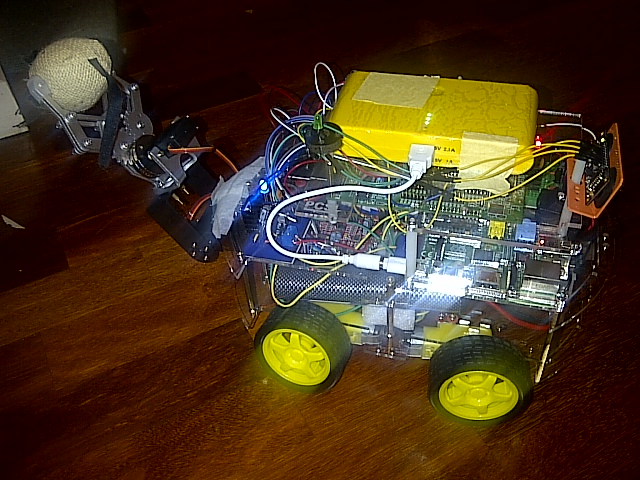
After adding a nice tilt servo base, you can attach a camera or a hand gripper. There are a few version of the hand gripper for a mid-size servo. Make sure it is light enough to be attached to an existing robot-car chassis. Two basic movements of the servo are basically: grip…
Robot Project Day 8 – Tilt servo for hand gripper (claw)
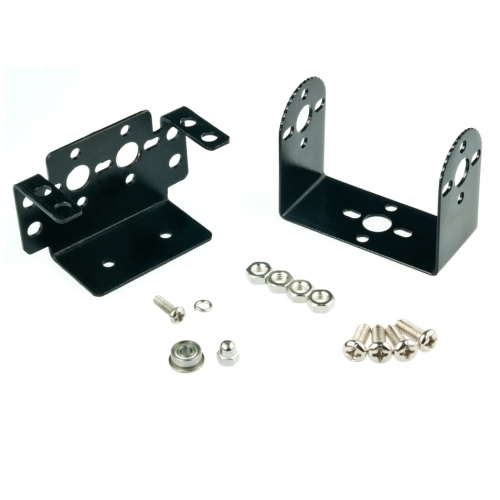
After testing all the basic functions of a robot in previous post, a nice additional feature of a robot is to include a hand gripper. You can purchase a pan & tilt kit for standard servo and a hand gripper kit which you can combine to create a nice pick-grip-release motions. For hand…
Raspberry Pi + Pololu Maestro + Python3 + Tornado + Servo Control Part 3
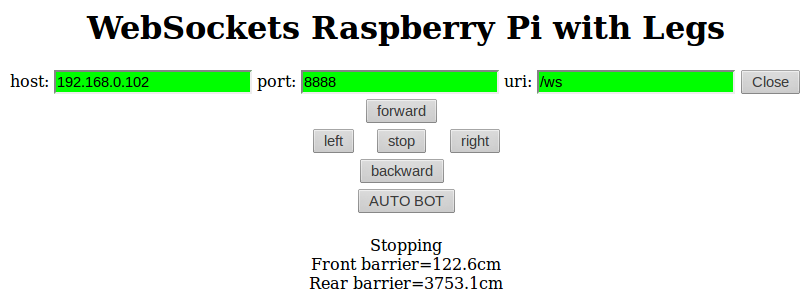
So we have all the backbone software ready as discussed in Part 2, now we want to create the interface. We basically need JQuery to handle the button interaction. Once a button is clicked, it will send a command to the server via WebSocket. The server needs to relay the…
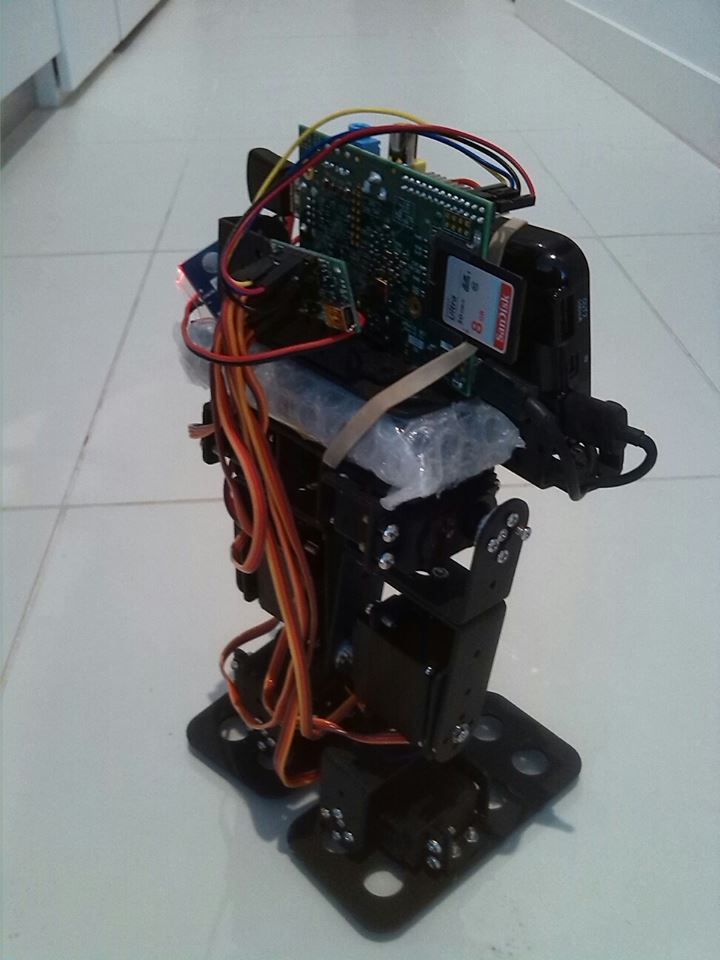
Raspberry Pi + Pololu Maestro + Python3 + Tornado + Servo Control Part 2
In Part 1 we discussed ways to connect all the hardware together. For there software component, there are 4 different technologies involved: Device.py, which provides byte commands to Pololu Maestro discussed previously. DeviceController.py, which provides servo control via function calls on the Device Driver object. TornadoServer.py, which serves the web…
")

