Gertboard is a great IO extension that has the capability of mimicing behaviour of an Arduino board through its ATMega channels.
To set it up, you need to:
1. Connect the Gertboard wires as follows:
- GPIO pin 8 with ISP pin 5 (RESET)
- GPIO pin 9 with ISP pin 1 (MISO)
- GPIO pin 10 with ISP pin 4 (MOSI)
- GPIO pin 11 with ISP pin 3 (SCLK)
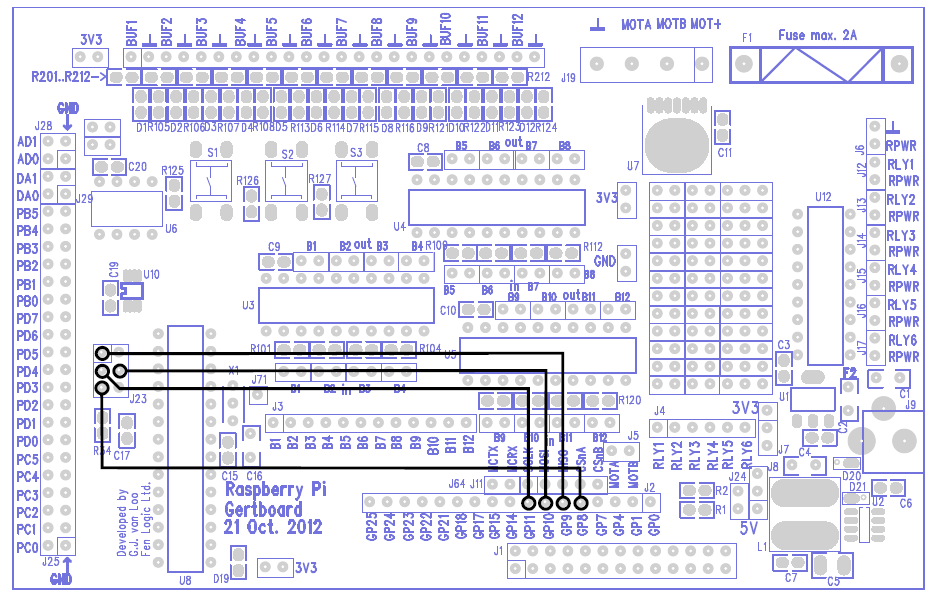
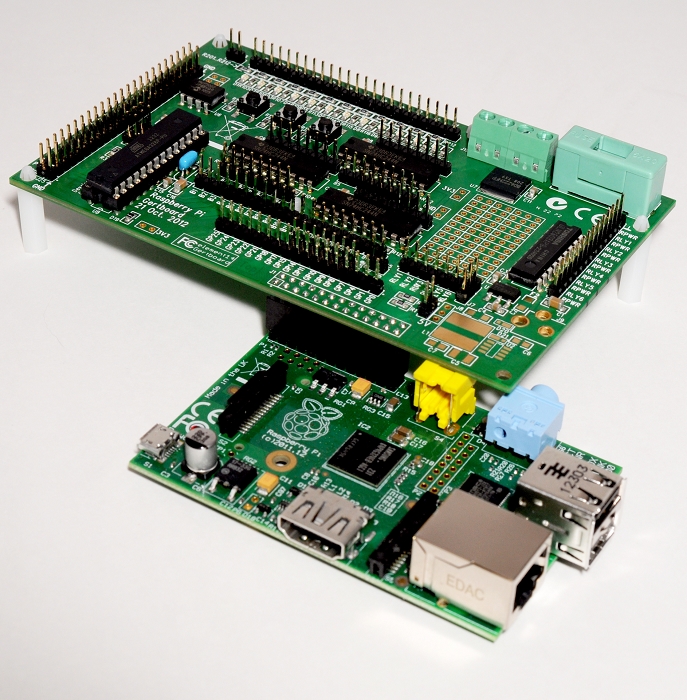
2. Connect Gertboard GPIO female port with Raspberry PI’s GPIO male port to each other as follows:
3. On Raspberry command prompt run: avrsetup
Select option number one for ATMEGA328, then you will get feedback like:
“Looks all OK – Happy ATmega programming!”
4. To start programming, you will need to install Arduino IDE on your Raspberry Pi.
(Visited 1,118 times, 1 visits today)
3 thoughts on “Using Gertboard ATmega as Arduino board”
Comments are closed.
")
")

and here is as small sample of what can be done http://ardpilot.wordpress.com
Good idea, what kind of IR remote control would you suggest? Just the standard RC car one?
just using a cheap one like that : http://www.amazon.fr/BestOfferBuy-T%C3%A9l%C3%A9commande-Universelle-Ordinateur-Portable/dp/B00AAC7Z56/ref=sr_1_9?ie=UTF8&qid=1409636047&sr=8-9&keywords=usb+ir+remote Any such standard device does work out of the box. If not have a look at http://www.lirc.org