In ideal geek world, we want to control our Arduino rover miles away via the Internet. Here is some idea on how to do it.
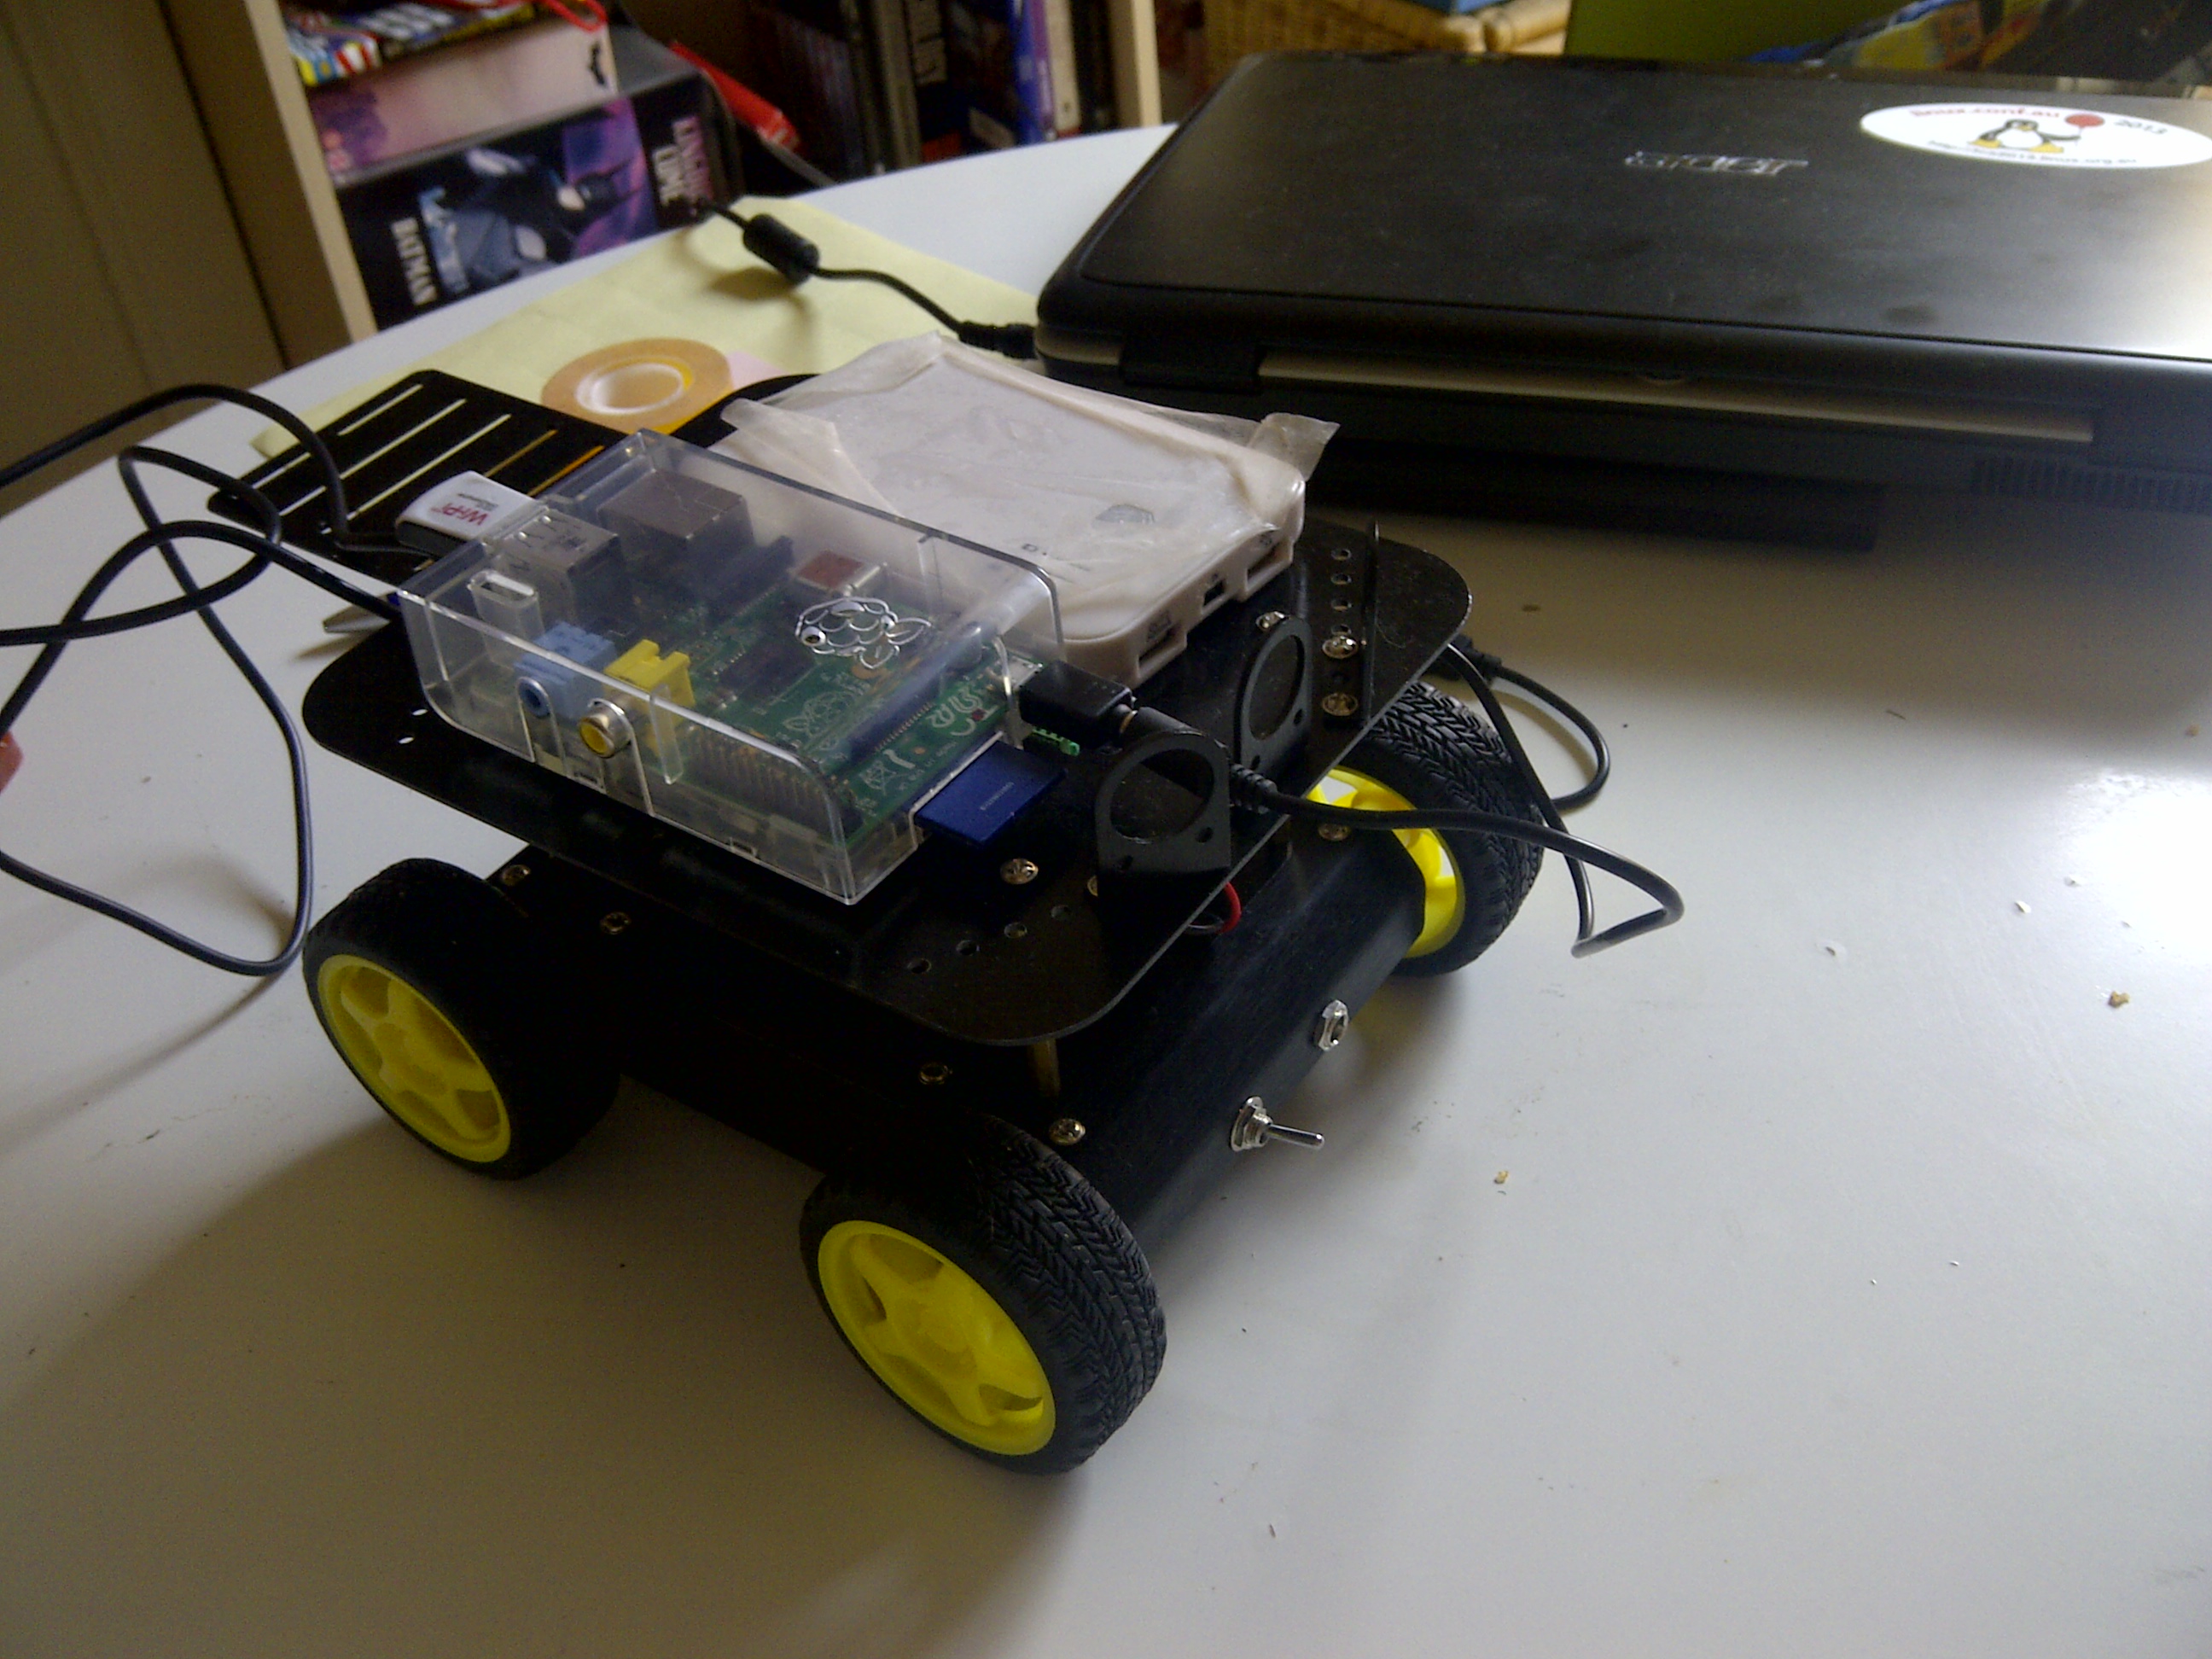
Internet Rover with Raspberry Arduino DFRobot Romeo board, taking commands from a website
Ingredients
Hardware
- 1 Raspberry Pi
- 1 set of 4WD Rover Platform, like from Dagu or DFRobot
- 1 solar panel battery
- 2 usb-to-micro usb cables
- 1 DFRobot Romeo All-in-One motor controller board
- 1 USB dongle for communications
- 5 Batteries for testing motors
Software
- Motor Board: Arduino IDE
- Raspberry Server: Raspbian, NodeJS, Lighttpd web server, Coffeescript, JQuery, Python, PySerial, Socket.io
- Client: Ubuntu running Mozilla, Safari, Chromium, or any other modern web browser for sending commands
Architecture
Remote PC (Web browser) – > Raspberry (Node.js, Socket.io, Python UDP listener, and Python serial class) -> Ardunio board (Arduino uploaded codes) -> Motors
This seems like a very long route to control the motors, but it works very well.
This gives you a real-time control via web browser. So basically the web server can transmit UDP messages between NodeJS and Python via socket.io. Simple messages like this can be translated via ‘switch case’ statement which links to the various functions in Arduino:
w = up
s = down
a = left
d = right
x = stop
Lets cook em!
The full blown code will be published in Part 2.
")
")
